Best Practices For Lithium Battery Installation
So, you’ve just invested in your premium lithium battery and are one step closer to off-grid adventuring. There’s just one hold-up: do you know how to install it? Lucky for you, the expert team at Expion360 has compiled this guide to safely and properly installing your E360 batteries, including loads, wire/fusing/breakers, and battery installation best practices. Read on for the details!
The Importance of Proper Battery Installation
Whether you’re a beginner or a seasoned enthusiast, battery installation is one aspect of off-grid exploration in which you want to become an expert. From following safety measures and proper positioning and securing, installation is much more than a plug-and-play process. When done correctly, lithium battery installation does more than utilize your power source most efficiently. It also:
- Reduces the risk of damage and safety incidents
- Ensures you’re operating within warranty compliance
- Prevents accidents
- Ensures your battery can more efficiently charge and discharge.
Before you install your batteries, you need to address the following: environment and location, maintenance and access, connectivity to existing circuits, and charging needs. Let’s get to the details of each.
Element 1: Environment and Location
Location. Location. Location. The first consideration for lithium battery installation should always be where you install it. A big aspect of this is considering the environment your batteries will be exposed to. Given the temperature swings (and extremes) most of us experience on our travels, we recommend you install your battery inside your rig.
LiFePO chemistry generally doesn’t operate at peak efficiency when exposed to extreme cold or hot temperatures. But you should also protect your batteries from direct sun exposure, rain, snow, extreme weather, and water submersion. The internal “smart” BMS operates as a failsafe to protect your battery by shutting down when it detects extreme temperatures. Although useful, you can avoid this altogether by installing your battery in a temperature-stable location.
Although storage is another beast, many of the same rules apply. You can find specifications on that here.
Element 2: Maintenance Access
The ability to achieve reasonable access to maintain and inspect your system is crucial. After all, you don’t want to trudge through snow or take apart your rig just to troubleshoot your lithium battery. A popular location in RV applications, for example, is under a dinette bench. Here, all you have to do is remove a seat cover and plywood deck to gain access to your battery. If you have to disassemble half of your RV or van to get to your batteries, that’s not ideal or sustainable in the long run.
Follow this installation checklist for easier maintenance:
- Easy-to-access
- Protected from inclement weather
- Secure and out of sight
- Temperature-controlled
- Protected from loose gear and other debris
- Verified torque specs (to eliminate loose connections)
- Ability to protect wires from abrasion and damage
Element 3: Connectivity to Existing Circuits
During installation, you also need a plan on how you’ll tie in your battery to your existing power system. In general, you want to be close to keep the cable runs as short as possible. If the original batteries were out on the tongue of your trailer, for example, you may be able to reuse your original wires.
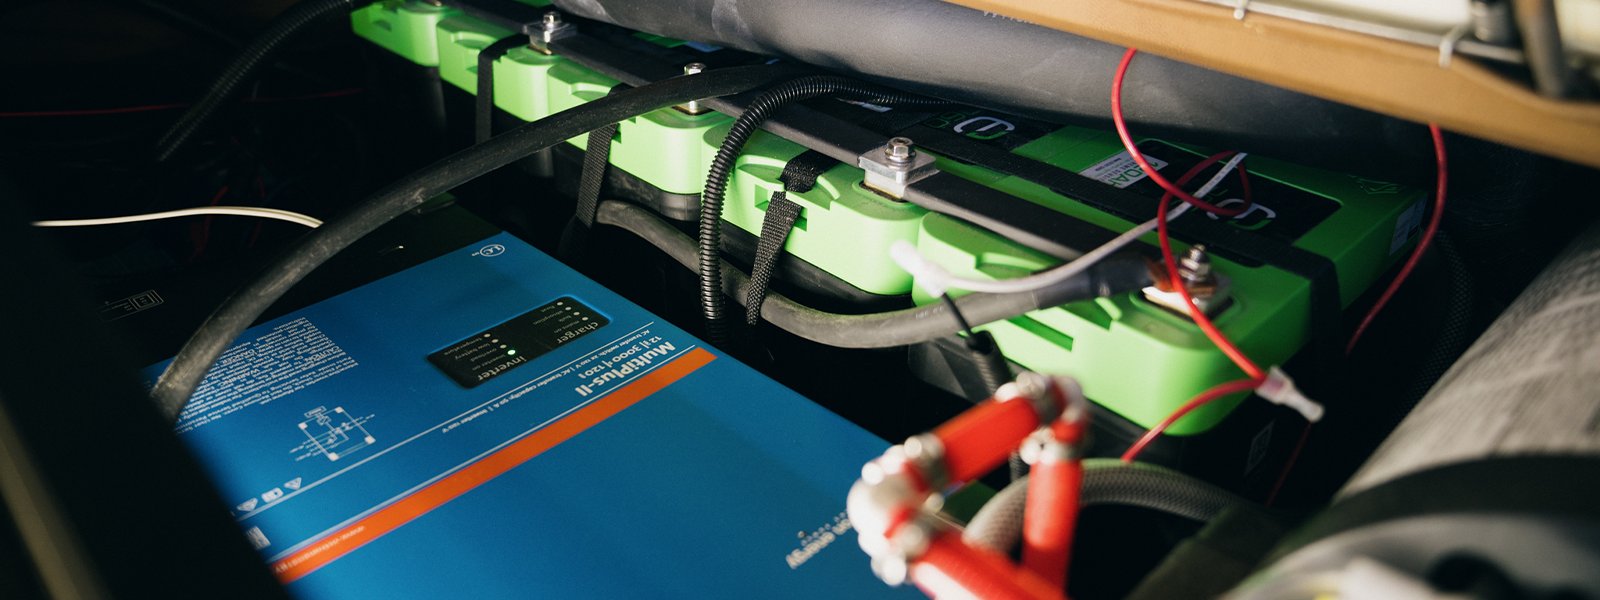
Next, you’ll need to verify that your wires can handle the power load your new battery bank delivers. This includes considering whether you’ll add equipment like an inverter charger or solar charger controller. If so, you’ll need enough space next to the batteries for installation. Remember, keep your cabling as short as possible to reduce voltage drop and resistance.
Once everything is installed, complete the cable runs to the existing power center. This includes:
- Solar PV cables that may come from another location (depending on where they drop down from rooftop solar panels)
- Battery bank DC output connecting to power center DC load bank
- AC cables from the inverter charger output to power center AC load bank
- AC cables from shore power input connecting to the inverter charger input
Every application is different, so we recommend you inspect the options fully before installation.
Element 4: Charging Needs
A related aspect of lithium battery installation is the charging requirement. Before you make your final installation choices, verify your charging requirements so you can be prepared and maintain optimal performance. If you installed an inverter charger, you’re ready to go other than configuring the settings for LiFePO. If you’re using a solar charge controller, you’ll likewise need to program it correctly.
However, if you’re not using either of the above, you’ll need to verify that your currently installed AC to DC converter connected to shore power can charge your lithium battery (this may be as simple as hitting a switch). Stay tuned to your blog next month, when we’ll go over battery charging in detail.
Discover a World of Reliable and Efficient Power
A successful battery installation includes following safety measures, proper positioning, and assessing space and location. If you need help beyond the tips in this blog, our expert team is available to answer questions and troubleshoot. With the right installation, you can harness the full potential of your Expion360 battery.
Explore the collection here.
For a visual explanation of this blog, watch the corresponding YouTube video on our channel.


