DC to DC and Solar Battery Charging 101
Last month, we gave our customers the Complete Guide to Lithium Battery Charging. Today, we’re taking that guide further and into best practices for DC to DC and solar battery charging. Keep scrolling to learn how to maximize the life and power of these systems.
Proper Charging = Longer Lifespan
We’ve mentioned dozens of times on our blog page alone (not to mention countless times elsewhere) how proper charging results in the safest battery operation. More than this most important benefit, it also increases your battery’s lifespan. At Expion360, we’ve proudly engineered batteries with a lifespan 10 times longer than traditional alternatives. But, if you’re making the investment into lithium iron phosphate chemistry, isn’t optimizing your power system down to the last drop the economic decision?
Simply put, proper charging practices increase your battery’s lifespan because they prevent overcharging and deep discharging, follow the manufacturer’s guidelines and specifications, maintain ideal voltage levels, and include regular monitoring and maintenance. Specifically, in the case of DC to DC and solar battery charging, these practices will protect your power system in harsh conditions and frequent usage.
DC to DC Charging
Whether you’re a weekend RV-er or an off-grid enthusiast, getting a handle on your DC to DC charging will result in a seamless charging experience.
Benefits
The most notable benefits of choosing DC to DC chargers include:
- Isolating the starter battery from the auxiliary battery.
- Charge rates range from 25 to 50 amps.
- Maintaining 100% SOC for an auxiliary battery while on the go.
- For units with dual inputs, these systems allow for charging from both the alternator and solar battery charging.
Installation
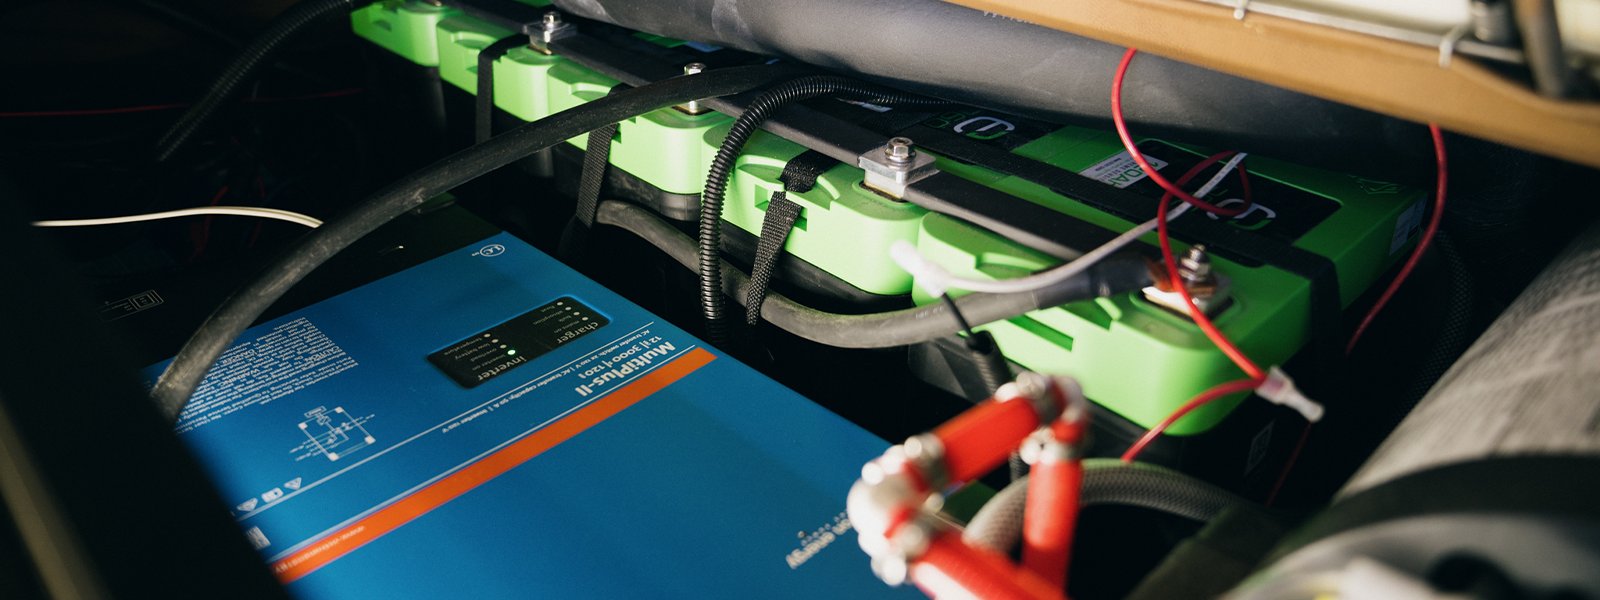
Over the last few years, DC to DC chargers have made huge advancements. One in particular is REDARC’s 40A in-vehicle DC to DC charger, which combines solar and mobile charging technologies in one unit to simplify installation and reduce wiring. In general, basic installation requires the charger to be located as close to the auxiliary battery as possible. If you have an Overland vehicle, for example, this might be in the engine compartment, on a frame rail, or inside the rig. Overall, your interior temperature and a moisture-controlled environment work best. Another key component of an installation is wiring. Ensure you size your wiring correctly based on the current rating of your charger (this can vary from 4 to 8 gauges) for optimal performance.
Before Calling Support
If you’re a trial-by-fire DIY-er, we suggest doing the following before dialing the support team.
- Inspect all wiring for damage or errors.
- Check the auxiliary battery and starter batteries are connected.
- Verify the integrity of inline fuses.
- Ensure the vehicle is running.
- Measure voltage at input wires with a digital voltmeter.
Just in case: (541) 797-6714
Solar Battery Charging
Whether you’re just dipping your toes into the world of solar energy or want to maximize your solar system, mastering the basics of this renewable energy investment includes solar battery charging best practices.
Benefits
The most significant benefits of choosing solar battery charging include:
- The level of flexibility for those wanting to step away from the electrical grid.
- The ability to venture forward without inverter generators, shore power, or DC to DC charging.
- Clean and quiet operations with minimal maintenance needed.
- Reduced carbon footprint (and cost) and increased energy independence.
Installation
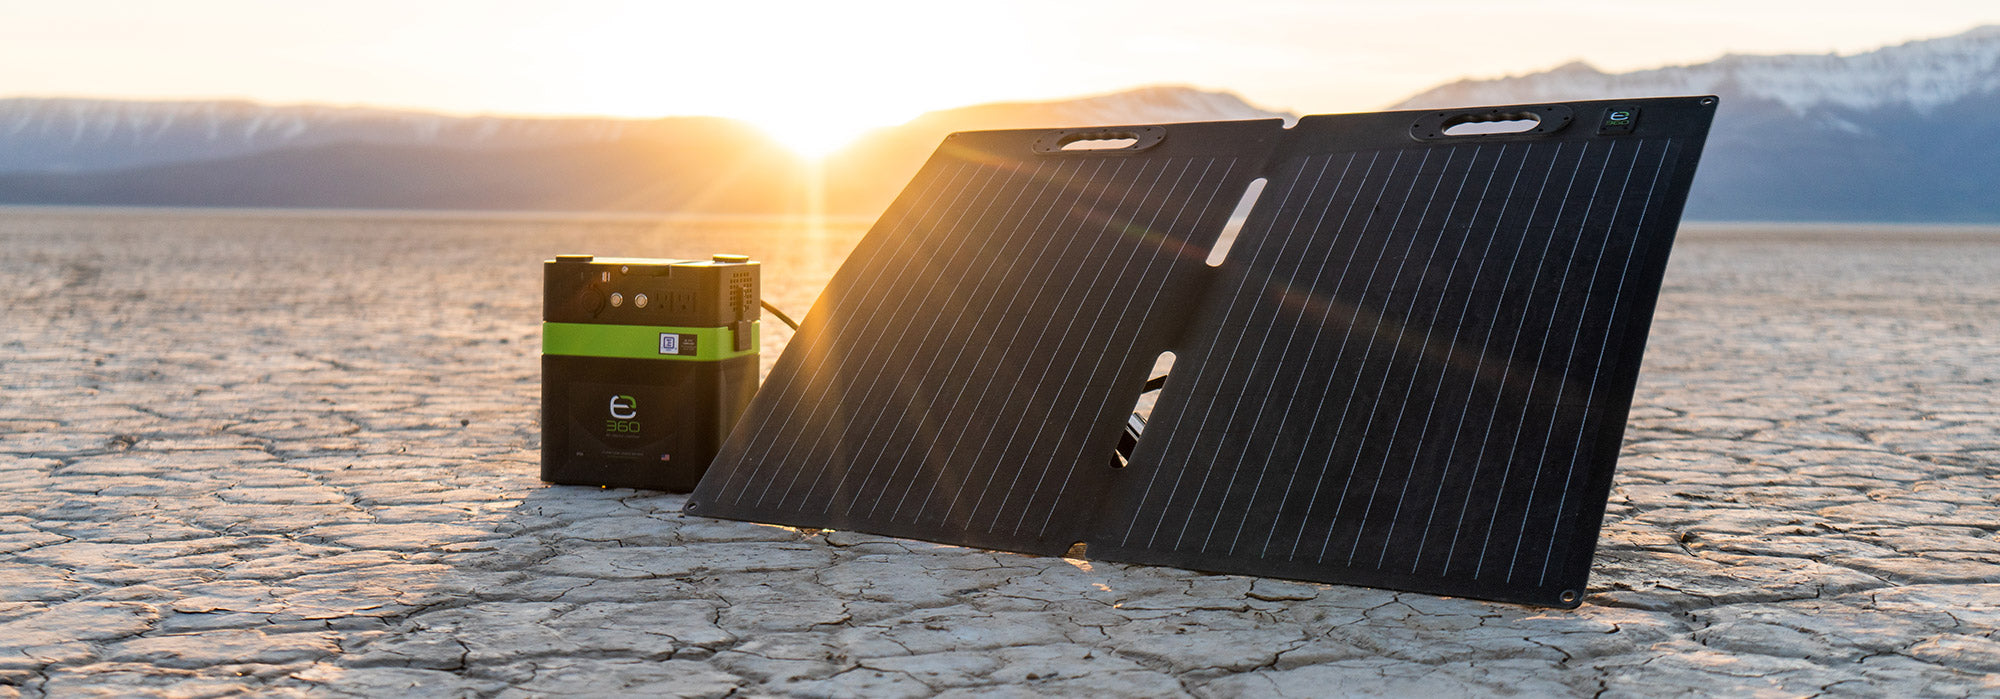
Solar power options have become an increasingly popular choice to charge lithium batteries efficiently and sustainably. Two main components are needed for harnessing the sun’s power: a solar panel or ground system and a solar charge controller. Solar panels come in various sizes, voltages, and power, so it’s important to calculate the number and size you need for your application. Portable ground systems are temporary, have a quick setup, and provide a more conservative charging level.
The second component, solar charge controllers, are available in MPPT or PWM. These controllers accommodate the current of the solar system and need to be programmed to the correct lithium iron phosphate profile.
Expion360’s recommended settings are as follows:
- Bulk Voltage — 14.6 V
- Float Voltage — 13.6 V
- Absorption Voltage — 14.6 V
- Absorption Time — 2 hours
- Absorption Interval — 7 hours
Before Calling Support
Going it alone is admirable. But try these tips first.
- Check that your panels are clean and free of debris.
- Inspect interconnections are correct and undamaged.
- Ensure there’s sufficient sunlight without shading.
- Check that the wiring combination where all solar panels are terminated together is correct and undamaged.
- Use a digital voltmeter (set to DC volts) to measure the PV voltage of each panel individually, the total voltage for all panels, the PV voltage entering the controller input and output, and the end of the solar output controller wires.
Again, just in case: (541) 797-6714
Trust Expion360’s Expertly-Engineered Products
Between today’s deep dive and our complete charging guide, we hope to empower customers to make the most of their renewable energy investment. With the peace of mind of an expertly engineered power system, responsive customer support, and useful resources, where will you venture next?
Explore the full Expion360 collection here. And for more information like this in a visual format, watch the corresponding YouTube videos (here and here) on our channel.


